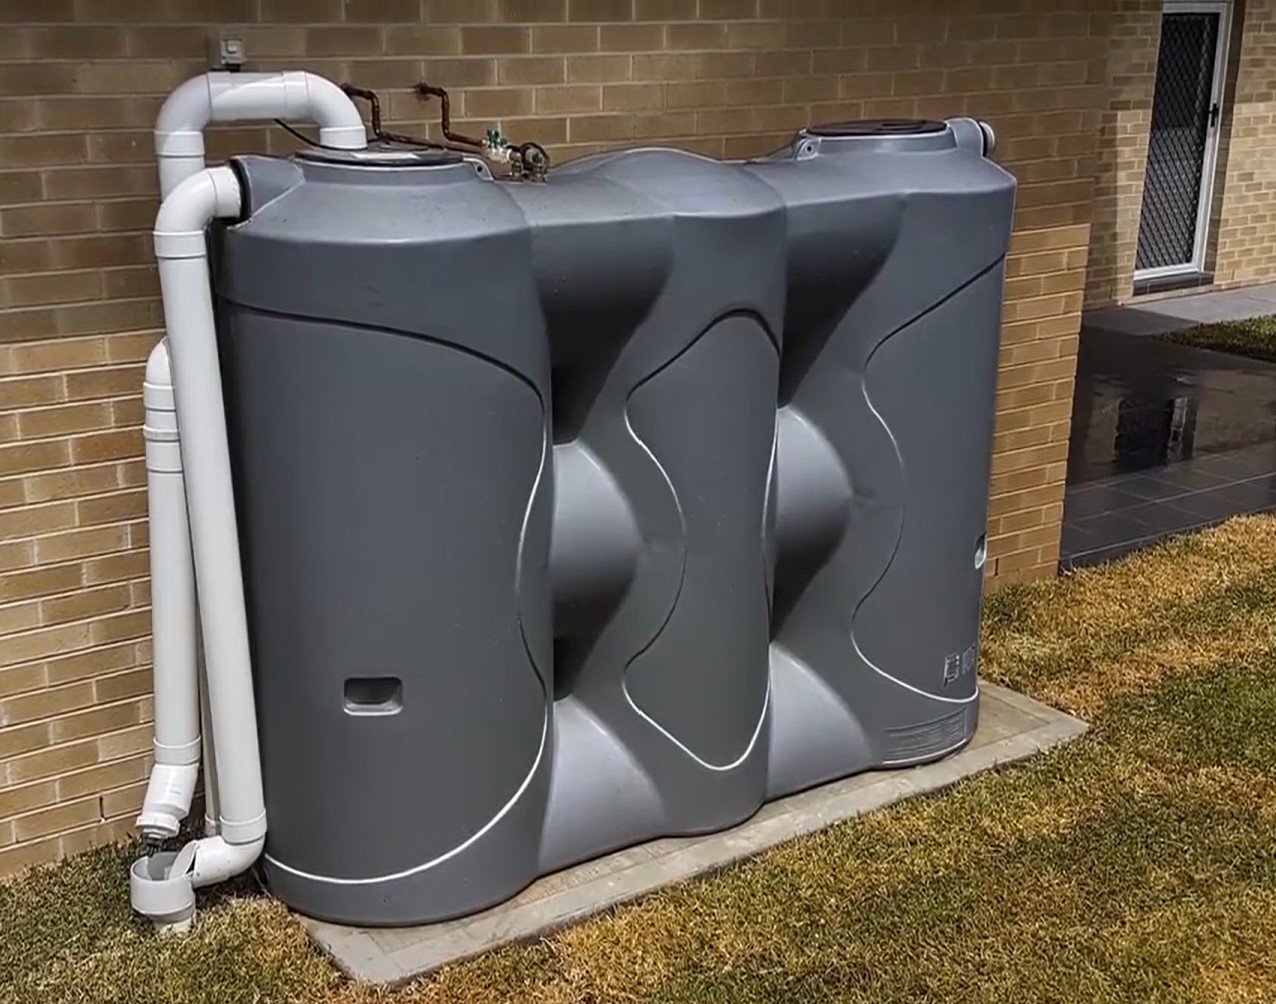
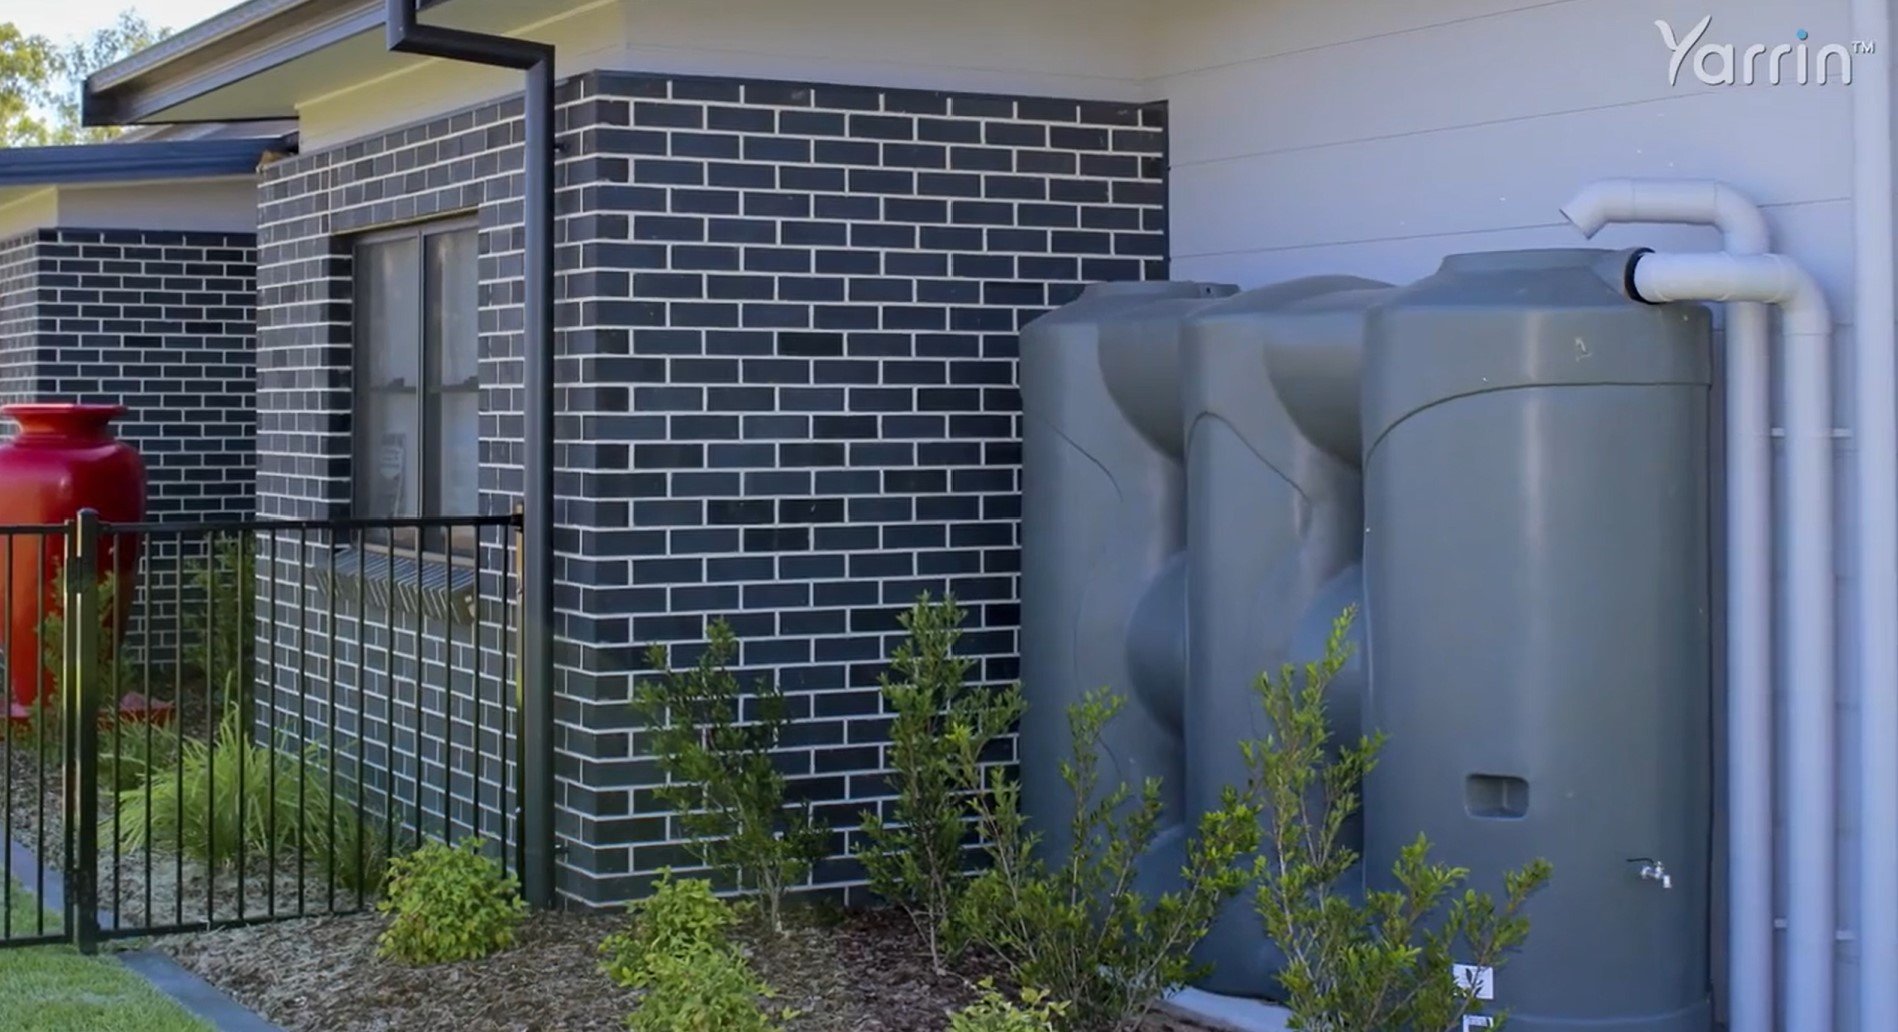
Rainwater Tanks and Pumps
Poly water tank on its way? Be prepared!
You’ve purchased your water tank but before it’s delivered to your property, you need to prepare for its arrival. You need to think about the best location for your tank, tank configuration (if you need multiple tanks), where the water will come from to supply the tank, pump requirements, electricity supply and your particular water-usage requirements.

Your tank must sit on a level and properly prepared surface called a pad. Once water is in the tank, it’s impossible to move it without emptying the whole tank, so it’s vital to ensure your pad is completely level from the get-go.
Poor preparation of the pad can result in problems. Creating an uneven pad may lead to a sloping tank, compromising your tank’s capacity and output. Keep in mind that water is heavy, and 1,000 litres weighs 1 tonne. If a large tank is uneven, it becomes heavier on one side and the difference in pressure can result in problems with plumbing and ongoing maintenance. Rainwater tanks are built to be stronger at the bottom to support the pressure exerted by the water, and level water storage is critical to avoid changing the physics and structural integrity of your tank.
Step 1: Choose the site where your poly tank will go
When full, your water tank is heavy, so the site needs to be on stable, solid ground with no soft spots and away from water that could undermine or erode the pad.
Step 2: Prepare the base for your water tank
+ For circular tanks: Tie a ball of string to a tent peg or stick and place the peg in the centre of where you want your tank. Measure off the radius of the base of your tank and then add at least 600 mm. Using the string line, mark or scrape a circle.
+ Level the marked area, making sure you clear any rocks, stones, or sharp objects. Remember the weight of all that water? Over time, your tank will settle and even small stones could puncture the base of your tank.
+ When you’ve finished levelling and clearing the base, check your work with a level.
For slimline tanks, the levelling process is the same, and you need a 600 mm clearance, too.

Step 3: Create your base
Gravel
+ Mark a height of 75 mm. (If you can, use a retainer like old railway sleepers or 2 x 4 timber.)
+ Fill with fine road base gravel or crushed rock. We do not recommend sand, as it’s likely to erode through any rain flowing down the side of your tank.
+ Spread evenly then check the base is level in all directions.
+ Water lightly so gravel settles.
+ Use a compactor or roller to compact the base.
+ Double-check that the site is level, and you have a margin of 600 mm
Concrete
Follow the same steps above to level your site and remove sharp stones. If you’re doing the concreting yourself, we recommend that you use of reinforcing mesh to maintain the integrity of the base. Generally we recommend that you engage a concreter.
Remember the weight: You might need to calculate the concrete slab thickness you need for the size of your tank.
We also recommend you landscape with soil and plant around the tank base once installed to create a firmer long-term structural base.


Step 4: Position your tank
Take note of the position of the tank inlet, overflow, and outlets to orient the tank, and position your tank in the middle of your pad. Once the tank is level and properly positioned, you can start to connect your catchment pipework to the inlet and your pump to the outlet.
We also recommend that once installed, you landscape around the base of the tank with soil and plants to create a firmer long-term structural base.

